Delivery HackTheBox WalkThrough

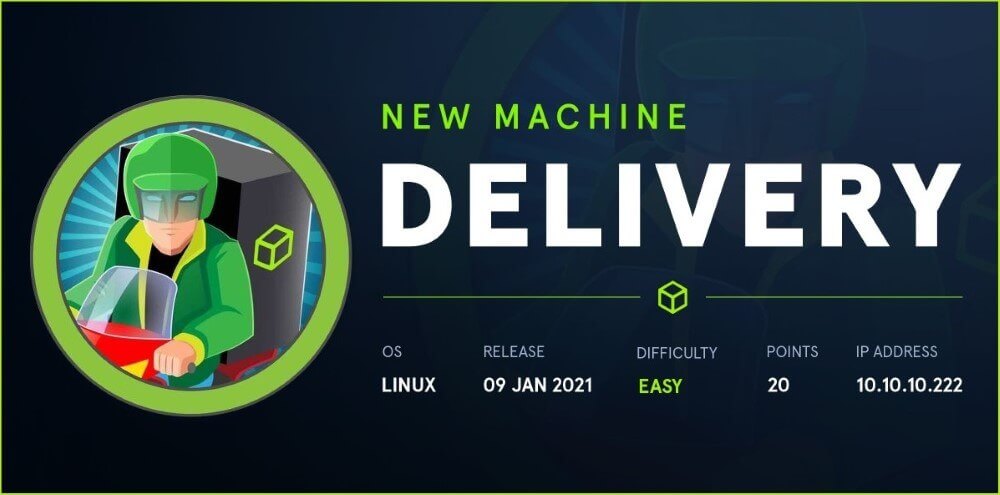
This is Delivery HackTheBox machine walkthrough. In this writeup, I have demonstrated step-by-step how I rooted to Delivery HTB machine. Before starting let us know something about this machine. It is a Linux OS box with IP address 10.10.10.222 and difficulty easy assigned by its maker. First of all, connect your PC with HackTheBox VPN and make sure your connectivity with Delivery machine by pinging its IP 10.10.10.222. If all goes correct then start hacking.
As usual, I started by scanning the machine. Used Nmap (port scanner) for this task and the result is below-
Scanning
$ nmap -sV -p- -T4 -oA nmap/delivery-all 10.10.10.222
$ cat nmap/delivery-all.nmap

Nmap found ports 22, 80 & 8065 as open. OpenSSH on port 22, nginx web server on port 80 are running. Port 8065 has some unknown service running which nmap could not enumerate. Since web server is running on port 80 so we should have some website running over this server which can be accessed at URL http://10.10.10.222. But before accessing this URL, let us add delivery.htb to our hosts file. Now URL http://10.10.10.222 became http://delivery.htb after host file modification.
Ongoing to http://delivery.htb found a new subdomain help.delivery.htb so added it too to our hosts file. The hosts file is present in /etc/ folder.
Hosts File After Modification
$ cat /etc/hosts


After some initial enumeration on http://delivery.htb found MatterMost Server running at port 8065 which can be accessed at URL http://delivery.htb:8065/ and nothing interesting is present on this page. So moved forward for enumeration on http://helpdesk.delivery.htb.
After going to this URL found SUPPORT CENTER (Support Ticket System). There is a Sign In page, then tried to login with some default credentials like admin: admin, admin: password, delivery: password, etc. but all failed.

Opening New Ticket
Then I created a new ticket by clicking on ‘Open a New Ticket‘ with the following details.
Under Contact Information fill the following info or something other which you want.
Email Address: [email protected],
Full Name: test1,
Phone Number: 1234567890,
Help Topic: Contact Us,
Issue Summary: Issue1,
Issue Description: This is issue1,
Fill the Captcha and then Click on Create Ticket button to create a new ticket. After creating a ticket you will get a message which looks something like below as in screenshot. This message has a ticket id and assigned email address using which you can contact them. Note down them because they will be needed further.

Ticket ID: 4076334
Assigned Email Address: [email protected]
Then click on Check Ticket Status in menu bar and sign in using the following credentials or the one using which you have created ticket.
Email Address: [email protected]
Ticket Number: 4076334, and click on View Ticket to view the ticket. You will get a page like this

Leave this page as it is and go to URL http://delivery.htb:8065/ in new tab and click on Create one now to create a new account.

Fill following info in Signup page
What’s your email address? : [email protected] (replace it with your Ticket Email Address)
Choose your username: test1
Choose your password: Anything@123, and click on create account button to create a new account. Then it will ask for email verification.

Leave this page as it is and go to the previous tab containing URL http://helpdesk.delivery.htb/tickets.php and reload it. You will get a link to activate your account. Just copy the URL and paste in new tab to activate your Account which you have just created. In my case the Activation URL is

After activating the account enter password Anything@123 to login into dashboard. After login go to URL http://delivery.htb:8065/internal/channels/town-square. There is credentials maildeliverer: Youve_G0t_Mail!. According to this message it should be SSH credential. When I tried to login into SSH account of user maildeliverer I could easily logged in. So let us get user shell and capture user flag.

Getting User Shell
$ ssh [email protected]
~Youve_G0t_Mail!
maildeliverer@Delivery:~$ whoami && id

We have successfully logged in into delivery machine. Let us capture user flag from user.txt file.
Capturing User Flag
$ cat user.txt

Privilege Escalation
Finding PrivEsc Vector
At initial enumeration I found .mysql_history file inside the home directory of maildeliverer. So immediately I searched using $ss –lnpt command for all the listening port.

$ ss -lnpt revealed that port 3306 is listening and MySQL server is running locally.

So my next step is to login into this server and grab some credential from it if they are present. When I tried to login with the command $mysql with blank password (default configuration of MySQL requires no password) it asked me password. So it needs password to get login. After some enumeration I found MySQL credential inside file config.json present at directory /opt/mattermost/config/.
$ grep -A12 -i 'SqlSettings' /opt/mattermost/config/config.json

From above we got MySQL creds mmuser: Crack_The_MM_Admin_PW. This password also hints that we should crack admin (root) hash to get its credential. Let us login into MySQL using this creds and see what is present for us in the database.
Logging into MySQL
$ mysql -h 127.0.0.1 -u'mmuser' -p
Enter password: Crack_The_MM_Admin_PW
MariaDB [(none)]> show databases;
MariaDB [(none)]> use mattermost;
MariaDB [mattermost]> SELECT Username,Password FROM Users;
MariaDB [mattermost]> exit

We got root hash from the table Users.
root: $2a$10$VM6EeymRxJ29r8Wjkr8Dtev0O.1STWb4.4ScG.anuu7v0EFJwgjjO
Identifying Hash Online
Let us identify the hash so that we can crack it using hashcat.

https://hashes.com/en/tools/hash_identifier found that format of given hash is bcrypt. When I tried to crack this hash using $hashcat and wordlist rockyou.txt it could not crack. Then I tried to check for some hint and found it on the same page where we got our SSH credential. i.e., at http://delivery.htb:8065/internal/channels/town-square. This hint clearly says that PleaseSubscribe! may not be present in RockYou.txt file and also hints to use hashcat rule to generate PleaseSubscribe! like password.

Let us use hashcat rule to create PleaseSubscribe! like password and crack our root hash. But there is a problem because there are many number of hashcat rules and which rule will give us our password we don’t know. So I have used rule best64.rule which is most widely used. Even ippsec has explained this rule in his video. The video link is this. After creating password using this rule when I crack the hash it found the password PleaseSubscribe!21. So let us create our custom wordlist and crack the root hash.
Creating Wordlist and Cracking Bcrypt Hash
$ echo 'PleaseSubscribe!' > pass.lst
$ cat pass.lst
$ hashcat --stdout pass.lst -r /usr/share/hashcat/rules/best64.rule > custom.lst
$ hashcat -m 3200 -a 3 '$2a$10$VM6EeymRxJ29r8Wjkr8Dtev0O.1STWb4.4ScG.anuu7v0EFJwgjjO' custom.lst
$ hashcat -m 3200 -a 3 '$2a$10$VM6EeymRxJ29r8Wjkr8Dtev0O.1STWb4.4ScG.anuu7v0EFJwgjjO' custom.lst --show

The credential is root: PleaseSubscribe!21. Let us switch the user to root using this cred and capture root flag.
Getting Root Shell
$ su root
~PleaseSubscribe!21
# whoami && id

We are root now. Let us capture root flag.
Capture Root Flag
# cat ~/root.txt

This was how I rooted to Delivery HackTheBox machine. Hope you have learnt something new from this machine walkthrough. Feel free to ask your doubt in the comment section if you face any. Thanks for reading this article. For any query and suggestion related to walkthrough feel free to write us at [email protected].


